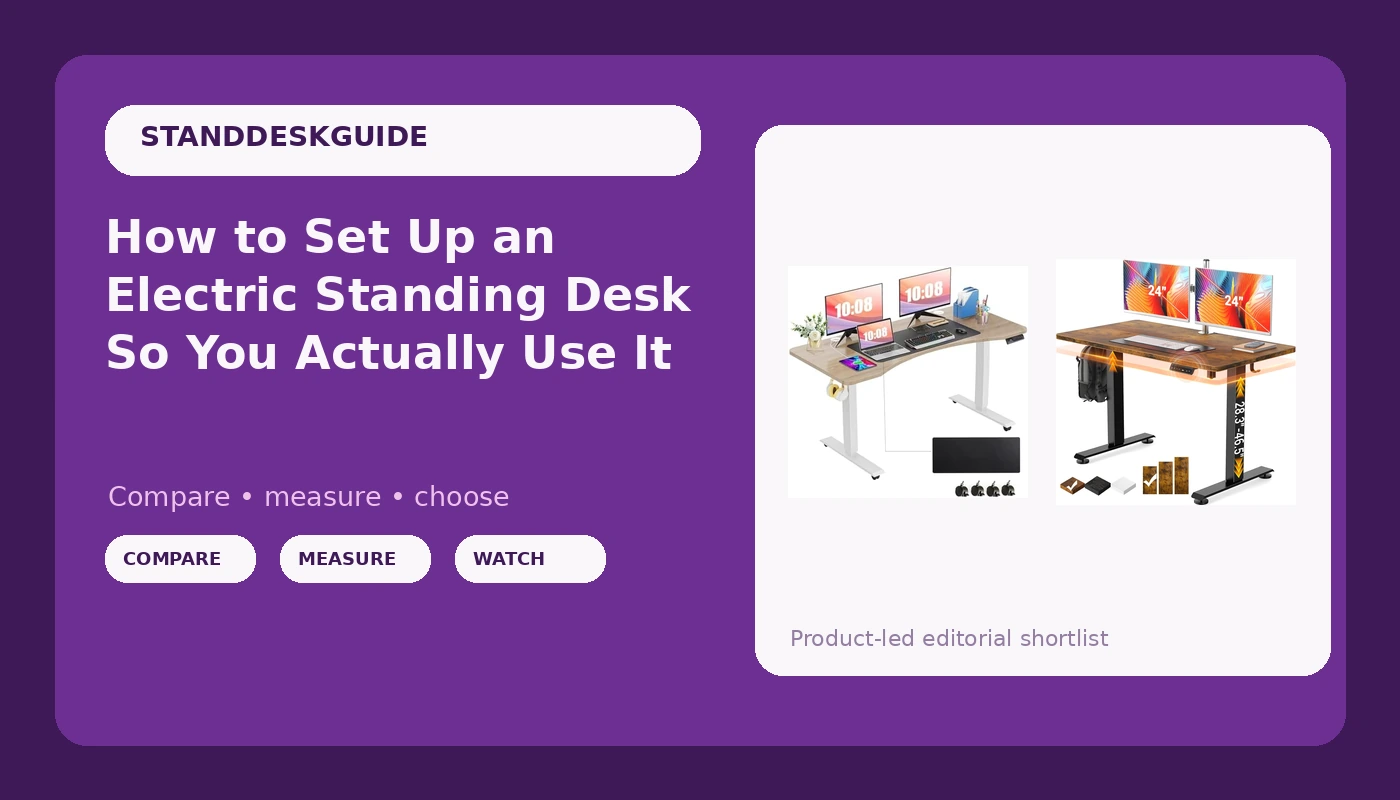
An electric standing desk setup fails in the same place every time: the first afternoon. The box shows up, you bolt the legs to a top, you press the up button once to prove the motor works, and then the desk sits at 29 inches for the next two years while your back keeps its original complaint.
I have watched that happen in my own shop more times than I can count, and the desk is almost never the problem. The order of operations is. Get the frame square, get the feet level, set two heights you can actually reach, and store them, and the desk becomes furniture you use. Skip those four things and you have bought a very heavy table with a motor you never touch.
Here is the sequence I run on every desk that comes through my shop, plus the two frames I would start with if you are shopping while you read.
Why you should trust me
I spent six years designing office furniture before I started reviewing it, and I have been running a standing desk channel for four. I own five desks in various states of disassembly. I keep a log of which motors die and when, I check stability at full height with a real keyboard under my hands, and I run a cable audit on every frame before I form an opinion.
That said, I am not going to pretend I have lived with the two desks below for three weeks, because I have not. What I can tell you is how to set up whichever frame you buy, what to check in the first hour, and which of the two is the better starting point for how you actually work.
What you need before you start
Nothing exotic, but gather it first so you are not crawling under a half-built frame looking for a driver.
- A second person for the flip. A top with legs attached is awkward and heavy, and the usual injury is a pinched finger, not a broken desk.
- A tape measure and a bubble level.
- A Phillips driver and the hex keys that come in the box.
- A box cutter and a clear patch of floor at least 6 by 4 feet. Cardboard goes down first so you do not scratch the top.
- Your anti-fatigue mat, if you own one. If you do not, that is the first accessory to buy, ahead of a monitor arm.
The desks you will be setting up
Both desks below are electric, both are sold with a top, and both will do the job if you set them up properly. They differ in the two things that matter at setup time: how much range the columns give you, and how much of the work the controller does for you.
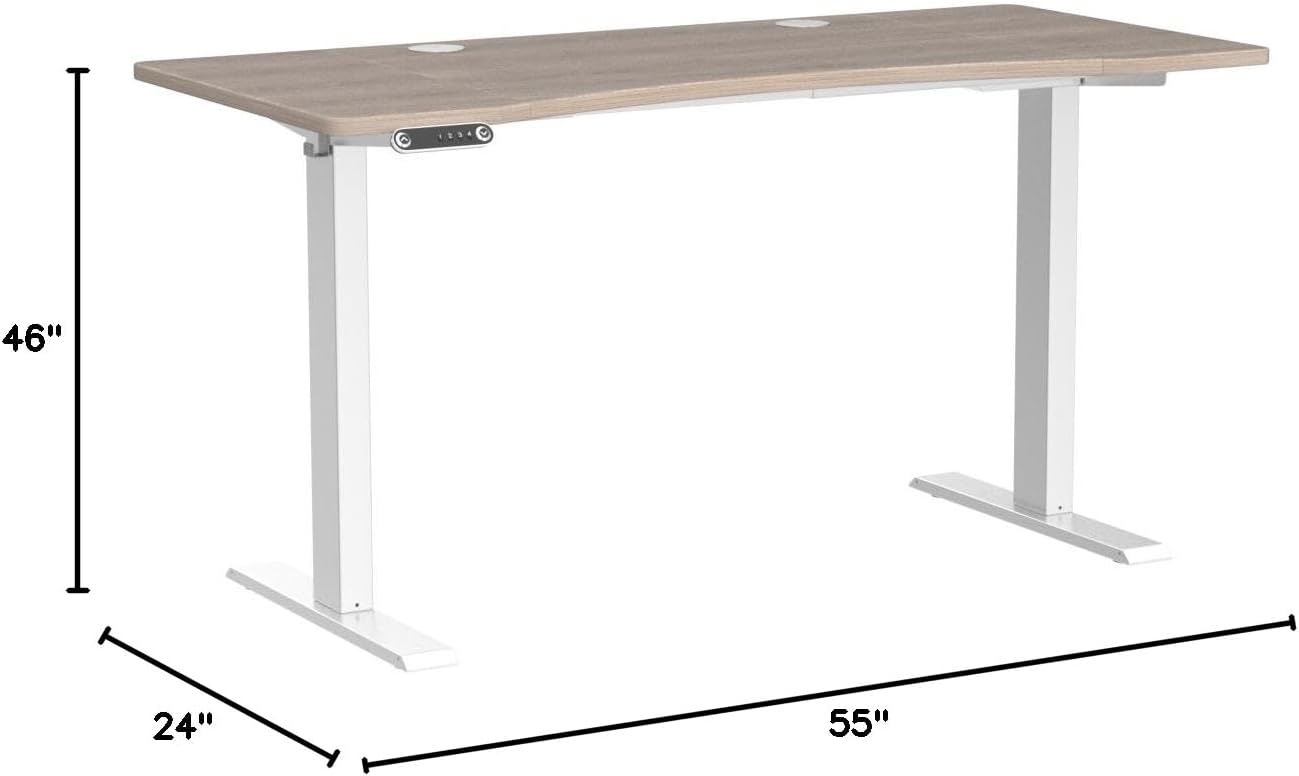
Our pick: farexon Curved Electric Standing Desk Adjustable Height,55x24 Inches Stand Up Desk with 4 Preset Heights, Lockable Casters,Double Hooks,27.5''-46.5'' Lifting Range Home Office Computer Desk(Oak Grey)
 Visit on Amazon →
Four preset heights is the feature I care about most here, and it is the reason this one leads. Presets are not a gimmick. They are the difference between a desk you raise and a desk you leave down. If switching from sitting to standing takes eight seconds of holding a button and watching a number, you will do it twice a week. If it takes one tap, you will do it four times a day.
The 27.5 to 46.5 inch lifting range covers most people. The 55 by 24 inch top is a real work surface with room for a monitor and a keyboard, and the curved front edge means your forearms rest on a curve instead of a corner. The double hooks are for a bag or headphones, which sounds minor until you have kicked a backpack across the floor for the tenth time.
The lockable casters are the part I would think hardest about. Casters make a desk movable, which is genuinely useful in a small apartment or a room that doubles as a guest space. They also put the desk on four small contact points instead of four flat feet, and small contact points on carpet are where wobble starts. Lock them, and put a thin plywood or hardboard pad under each one if your floor is thick pile.
Flaws but not dealbreakers: 46.5 inches is the ceiling. If you are over about 6 foot 2, measure your standing elbow height before you order. Tall users who need 48 inches or more should look at a frame with a longer column, not a taller mat.
Anyone who works in one spot all day, wants the presets to do the thinking, and needs to move the desk occasionally will be happy here.
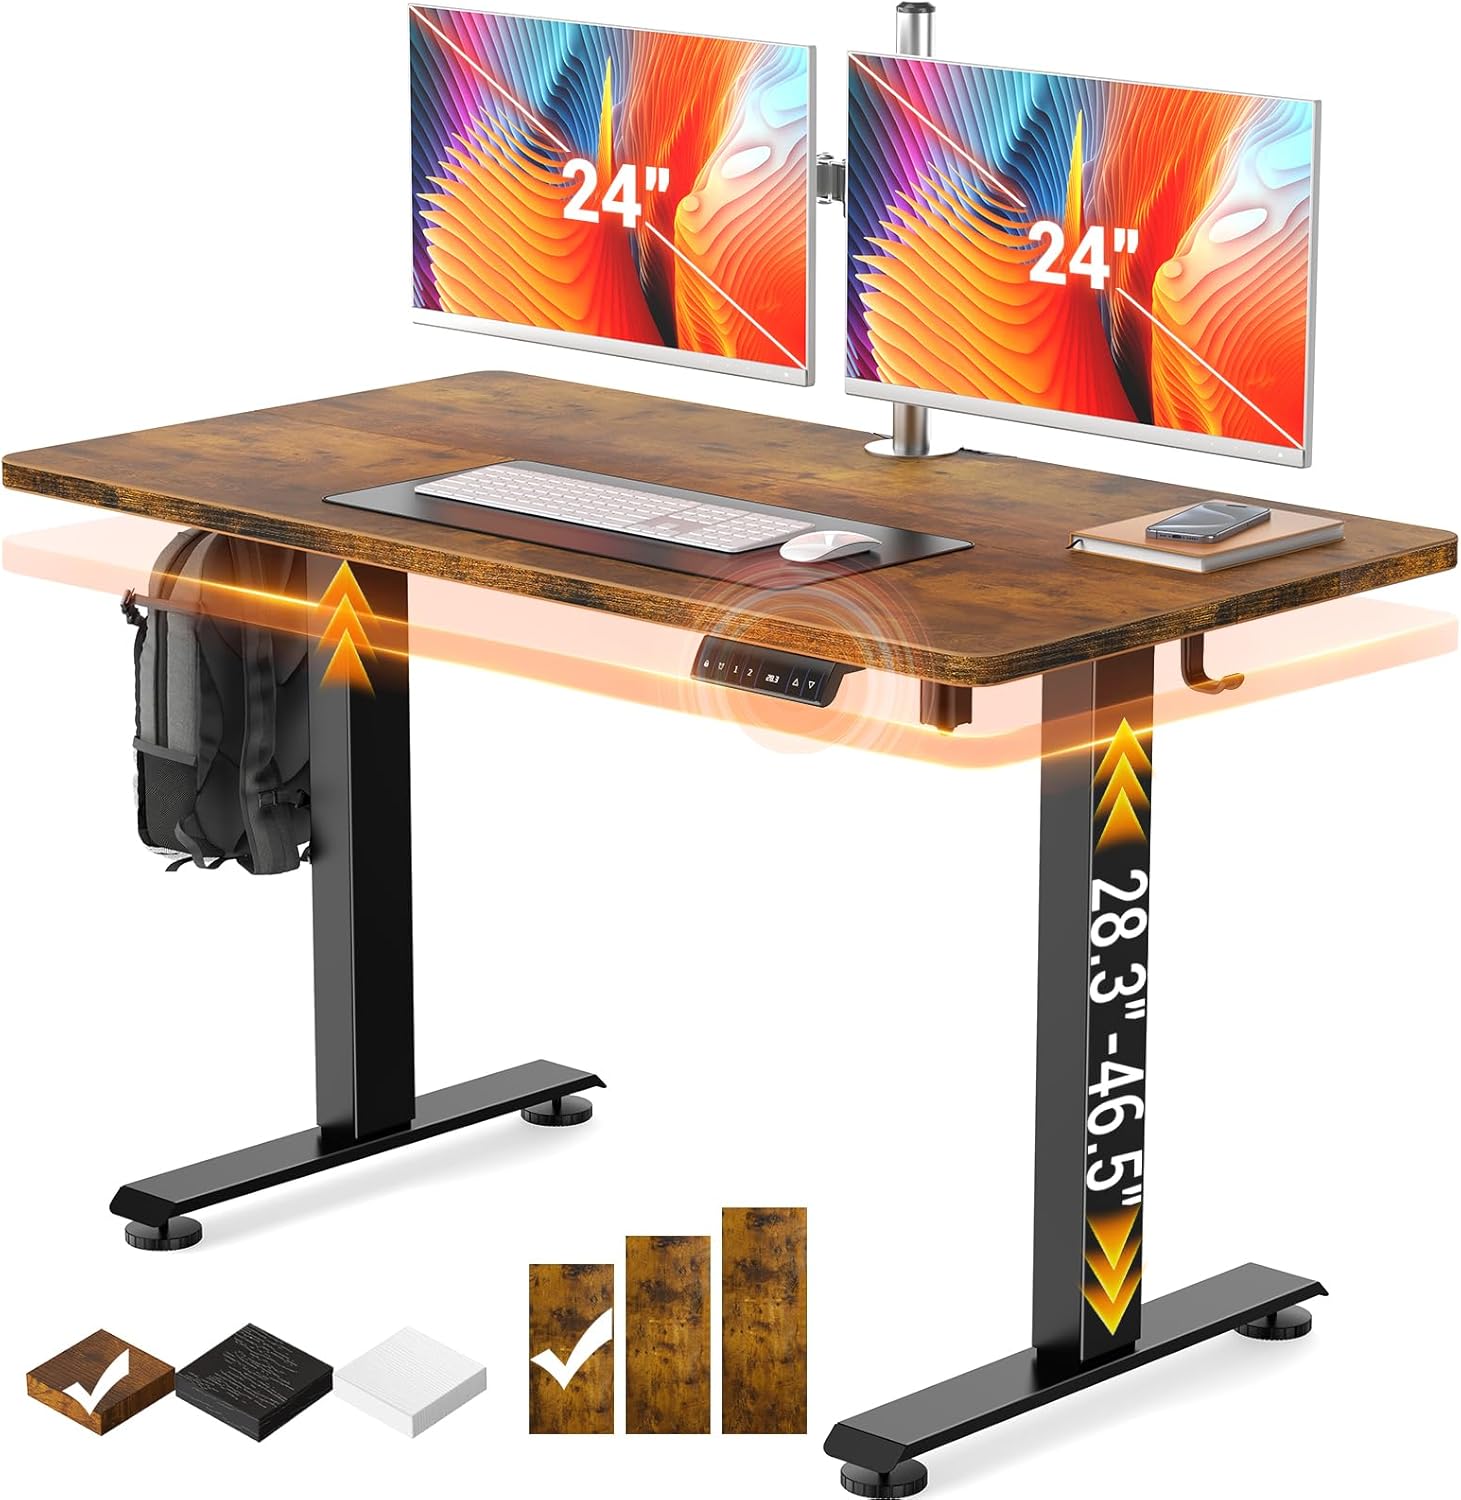
Budget pick: Veken 47.2 Inch Large Electric Standing Desk, Gaming Table, Brown
 Visit on Amazon →
The Veken is the simpler desk: a 47.2 inch top on an electric frame, sold as a gaming table as much as an office desk. A 47.2 inch surface is a good middle size. It fits a single monitor plus a laptop, or a monitor plus a keyboard and mouse with room left over, without eating the whole wall.
If you game at it, set your standing height to your elbow height and not to the height of your monitor. The most common mistake I see in gaming setups is a desk raised so the screen looks right while the keyboard ends up at chest level. Raise the desk for your arms, then raise the screen with a stand or an arm.
Flaws but not dealbreakers: A simpler frame means less to go wrong and less to adjust. Budget frames are also where the crossbar question comes up. Look at the underside before you buy. If there is no horizontal brace between the columns, expect more sway at full height, and plan to keep the desk lower or add a brace.
Anyone buying a first standing desk, or setting up a second workstation for a teenager or a spare room, should start here.
The actual setup workflow
Now the part you came for. This sequence works on any electric desk, from a basic frame to a premium one.
Step one: Stage everything on cardboard. Unbox, lay the top face down on the flattened cardboard, and count the hardware against the list in the manual before you turn a single bolt. Missing screws are the number one reason a setup stalls halfway, and you want to know before the frame is half assembled.
Step two: Build the frame upside down. Attach the legs and the feet to the frame while it is still upside down, and leave every bolt finger tight. Do not torque anything yet. A frame bolted tight while it is out of square will stay out of square.
Step three: Attach the top, then snug everything. Line the frame up with the pilot holes, start every screw by hand, and only then tighten in a cross pattern, the way you would a car wheel. Cross pattern, not around the outside. This is the step people rush, and it is the step that decides whether the desk sits flat.
Step four: Flip with two people and put it where it lives. Not in the garage, not in the hallway. The desk has to be leveled on the floor it will actually sit on, because a floor that slopes two degrees one way will slope differently in the room next door.
Step five: Level the feet. Spin the adjustable feet until the frame stops rocking. Push down on each corner in turn. If a corner lifts, keep turning. On carpet, this is where the hardboard pads go under the feet, and where you decide whether to keep the casters on at all.
Step six: Find your two heights. Sit down and set the desk so your elbows rest at roughly 90 degrees with your forearms parallel to the floor. That is your sitting height. Now stand up, let your arms hang relaxed, and raise the desk until the surface meets your knuckles or your relaxed elbow. That is your standing height, and it is usually lower than people guess. If you have to shrug to reach the keyboard, you are too high.
Step seven: Program the presets immediately. Before you do anything else, before you even set the monitor on it, save both heights to the memory buttons. This is the highest-value minute in the whole setup. A preset you saved on day one is a preset you will still be using in year two.
Step eight: Test the collision detection. Put an empty box or a wastebasket under the desk and lower it. The desk should stop and reverse. Test this on day one, while the manual is still on the floor. An anti-collision sensor you have never tested is a sensor you are trusting with your monitor.
Step nine: Run the cables with slack. Every cable that runs from the desk to the wall needs a service loop long enough to cover the full lifting range, plus a few inches. Leave the loop loose, bundle it with hook-and-loop straps, and never zip tie a cable to a lifting column. Route the loop so it cannot be pinched between the frame and the wall at full height.
Step ten: Do the wobble test. Raise the desk to your standing height, put both hands on it, and type hard for ten seconds. Then push it side to side. Some movement is normal. A rhythmic sway that grows is not. If it sways, check three things in order: are the feet level, are the frame bolts snug, and is there a crossbar. Wobble is a geometry problem far more often than a weight problem.
The mistakes that make people quit standing
The desk is not what fails. The habit fails, and it fails for predictable reasons.
Standing all day is the first one, and almost nobody does it. The research that made standing desks famous was about alternating, not about standing. Aim for 20 to 30 minutes standing out of every hour, then sit down without guilt.
The monitor never moves, and that is the second one. If you raise the desk and leave the screen where it was, you trade a back problem for a neck problem. The top of the screen should sit at or just below eye level in both positions, which is why an arm or a riser is worth more than a fancier frame.
The mat gets skipped. A standing desk on a hard floor is an endurance test. A mat is not comfort, it is the thing that lets you stay up for the second 20 minutes.
The presets get lost. If your controller forgets its memory after a power cut, that is a real flaw, and you should know about it in the first week rather than the first year. Unplug the desk, plug it back in, and see what survived.
And the height gets set once, in socks, on a good day, and never revisited. Your standing height drifts with your shoes and your energy. Recheck it once a season.
What else the setup costs
The desk is the purchase. The setup is a series of small ones, and the order matters more than the total.
An anti-fatigue mat comes first. A monitor arm or a riser second, because it fixes the neck problem the desk creates. A cable tray third, so the loop has somewhere to live instead of hanging behind the frame. Hook-and-loop straps cost almost nothing and do more for how a desk feels than most accessories people buy.
Prices on both desks above move around, so check the current listing rather than trusting any number you read in a review, including mine. What does not move is the sequence. Frame square, feet level, two heights, presets saved, collision tested, cables looped, wobble checked.
Do those seven things in that order and the desk stops being a project. That is the whole job. The motor is the easy part.