Most standing desks fail in week two. The motor is fine, the frame is fine, and the desk still ends up parked at sitting height forever because the standing desk setup was never finished. The monitor sits too low, the cable bundle snags on the frame at full travel, and no memory preset was ever saved, so every transition becomes a fight with a keypad.
I have been designing office furniture for six years and reviewing standing desks for four, which means I have assembled more of them than any reasonable person should. Every desk that comes through my shop in Portland gets the same treatment: three weeks of daily rotation at sitting and standing heights, a loaded wobble test at full height, and a cable management audit at the end. I keep a log of which motors die and when, and the log says the same thing every time. Setup kills more standing desks than hardware does.
This guide is the process. Not which desk to buy, but how to set one up so the height feature actually gets used.
Why you should trust me
I designed office furniture for six years before I started reviewing it, and I have spent the last four running a standing desk channel. My rule is simple: no desk gets written up until it has carried three weeks of real work at both heights, passed a loaded wobble test at full extension, and survived a cable management audit. I own five desks in various states of disassembly. Wobble is a triangle problem, not a weight problem, and the setup decisions below are the ones that decide whether your frame ends up rigid or rattling.
What you need before you start
You need a tape measure, a 24-inch level, a drill with the right bits, painter's tape, cable ties or an under-desk raceway, and a second person for the flip. You also need one thing nobody mentions: assemble the desk in the room and on the floor where it will actually live. Build it on carpet and roll it onto hardwood and your leveling is wrong before you start.
The other decision is desk class. A rolling desk and a fixed C-frame desk get set up differently, and the choice comes down to whether the desk stays put or shares the room.
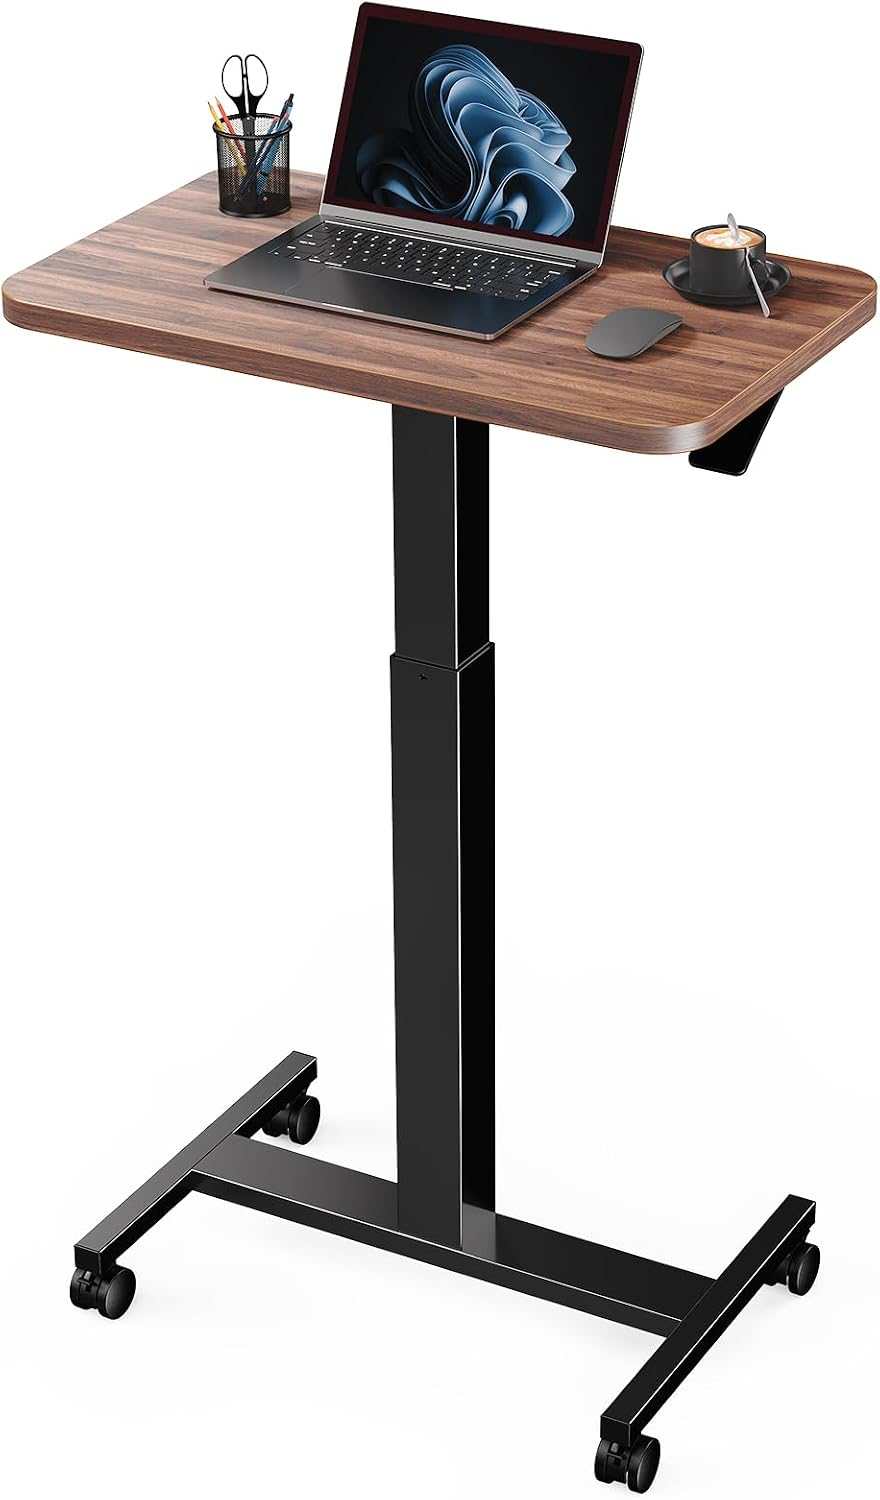
Best for flexible spaces: Marsail Mobile Standing Desk, Wider Height Adjustable Computer Desk, Rolling Sit Stand Desk with 4 Lockable Wheels, Desk for Home Office and Classroom, Walnut
 Visit on Amazon →
A rolling desk is the right answer when the desk has to share a room with something else. Four lockable wheels mean you can park it against a wall, roll it into the middle of the room for a call, and lock it down before you raise it. The walnut top and the wider surface give you room for a monitor and a laptop without stacking one on top of the other. Check current Amazon price.
Two caveats from the setup side. Casters add a joint between the frame and the floor, so a rolling desk will always sway more at full height than a fixed frame. Lock all four wheels and re-check the sway before you judge the desk. Wheel locks are also the first thing to fail on any mobile desk, so test each one on day one by pushing the desk sideways with the locks engaged. Keep the load sensible and keep the cable bundle short so nothing drags on the floor.
Flaws but not dealbreakers: rolling desks trade maximum rigidity and maximum height for mobility. If you need a rock-solid typing surface at full extension, buy a fixed frame.
Anyone working in a spare bedroom, a classroom, or a room that gets used for three things will get more out of this desk than out of a heavier frame they never move.
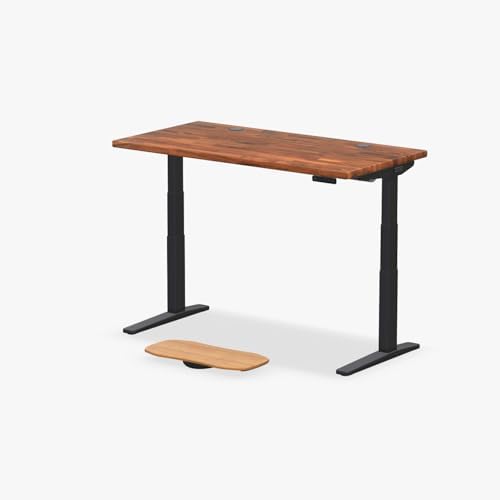
Best for a fixed office: UPLIFT DESK Saman Butcher Block (60 x 30 inch) Standing Desk 2-Leg V3 Adjustable Stand Up C-Frame (Black), Advanced Keypad, Wire Grommets, Wire Tray, Rocker Board
 Visit on Amazon →
If the desk is going to live in one spot, a fixed two-leg C-frame with a 60 by 30 top is the setup I would build around. The advanced keypad is the part that matters most for this guide, because memory presets are what turn a height-adjustable desk into a desk you actually adjust. The wire grommets and the wire tray do the cable management job most people try to solve with velcro and then regret. The rocker board is a small addition that keeps your feet moving at standing height. Check current Amazon price.
The top is a 60 by 30 butcher block, which makes this a two-person lift and a two-person flip. Do not mount it solo, and do not skip the second tightening pass.
Flaws but not dealbreakers: solid wood tops are heavy, and heavy tops amplify any sway the frame already has. Snug every fastener, then go around the frame again after the first week of use.
Anyone with a dedicated office and a monitor they care about should start here.
The actual setup process
Step one: build on the floor, in the room where the desk will live. Frame first, then top. Do not assemble in a garage and carry it up a staircase, because you will twist the frame and then spend a month chasing a sway you created yourself. Snug every bolt by hand, then torque them in a cross pattern the way you would a wheel.
Step two: find your sitting height before anything else. Sit in your actual chair with your feet flat, and measure from the floor to the crease of your elbow. That number is your sitting height within an inch. Set the desk there and save it as your first preset before the monitor goes on.
Step three: set standing height with the two-inch rule. Standing height lands roughly two inches below your seated elbow height, because standing changes how your hips and shoulders sit. If you are between two settings, go lower. A desk one inch too tall lifts your shoulders and bends your wrists, and you will feel it by Thursday.
Step four: save both presets before you load the desk. Hold the memory button, then the number. Do it while the desk is empty so you are not fighting the load. Then power cycle the desk at the wall and confirm both numbers survived. A controller that loses your presets on a power cut is a controller problem, and it is worth discovering on day one instead of month three.
Step five: run the loaded wobble test. Loaded means the monitor, the laptop, and everything else that lives on the desk. Raise to full standing height, put your hands on the front edge, and push side to side the way you would while typing. Then type. A desk that sways when you type at full height is a desk you will stop raising. Check the fasteners, check that the top is centered on the frame, and check the floor before you blame the frame.
Step six: level the feet on the actual floor. Every adjustable frame has leveling glides. Set them at sitting height with a level across the front edge. Rolling desks need this step twice: once unlocked so the casters settle, then again with the locks engaged so you can confirm nothing shifted.
Step seven: route cables at maximum height, not sitting height. Raise the desk as high as it goes and route there. Leave a service loop at the bottom, tie the bundle into the tray or to the underside of the top, and make sure nothing can catch on the frame during travel. A cable that looks fine at sitting height is a cable that yanks a monitor off the desk at standing height.
Step eight: test collision detection on day one. Put a box under the desk and lower it. If the desk does not stop, you now know to watch the down button every time. Do not learn this with a monitor in the way.
Step nine: build the trigger. The desks that get used are the desks with a habit attached. Pick a cue: the end of your first coffee, the start of your second meeting block, the top of the hour. Raise the desk on that cue for two weeks. Presets exist so the transition takes three seconds, and three seconds is short enough to survive a busy morning.
Cable management that survives the travel range
Anchor the bundle to the moving part of the desk, never to the wall. The frame travels, the wall does not, and a cable stretched between the two is the most common failure I see. Use the grommets for anything coming down from the top, run the rest into a tray, and leave slack measured at full height rather than sitting height. Zip ties every eight to ten inches, and one loop of slack right where the cable enters the controller. Never let a power strip hang free under a desk that moves. Mount it, or leave it on the floor with a long enough cord.
Mistakes that kill a standing desk setup
Assembling on a different floor than the one the desk lives on. Setting standing height from a chart instead of your own elbow. Never saving presets, which turns a three-second adjustment into a twenty-second one. Judging stability with an empty desk, because an empty desk passes a wobble test it should fail. Routing cables at sitting height. Skipping the leveling glides and then blaming the frame for a slope in the floor. Assuming the wheel locks are engaged because the lever moved, when the lock needs the wheel to be in the right position to seat.
Fix those seven and you have solved almost every complaint people bring to me about desks they already own.
What this all costs
The setup itself costs an afternoon and the tools you probably already have. The desks are the real spend, and the two ends of the range are clear: a mobile rolling desk sits at the budget end, and a full 60 by 30 butcher block frame sits at the top. Check current Amazon price on both before you commit, and check it again on the day you order, because these move.
The math that matters is not the sticker. It is the number of times per day you actually raise the desk. A desk with saved presets, a monitor at the right height, and a cable bundle that does not snag gets raised four or five times a day without a second thought. A desk missing any one of those three gets raised twice in the first week and never again.
Do the setup once, on a Saturday, with a tape measure and a level. Save the presets. Route the cables at full height. Then let the desk do the one thing you paid for.